
Previous post

Next post


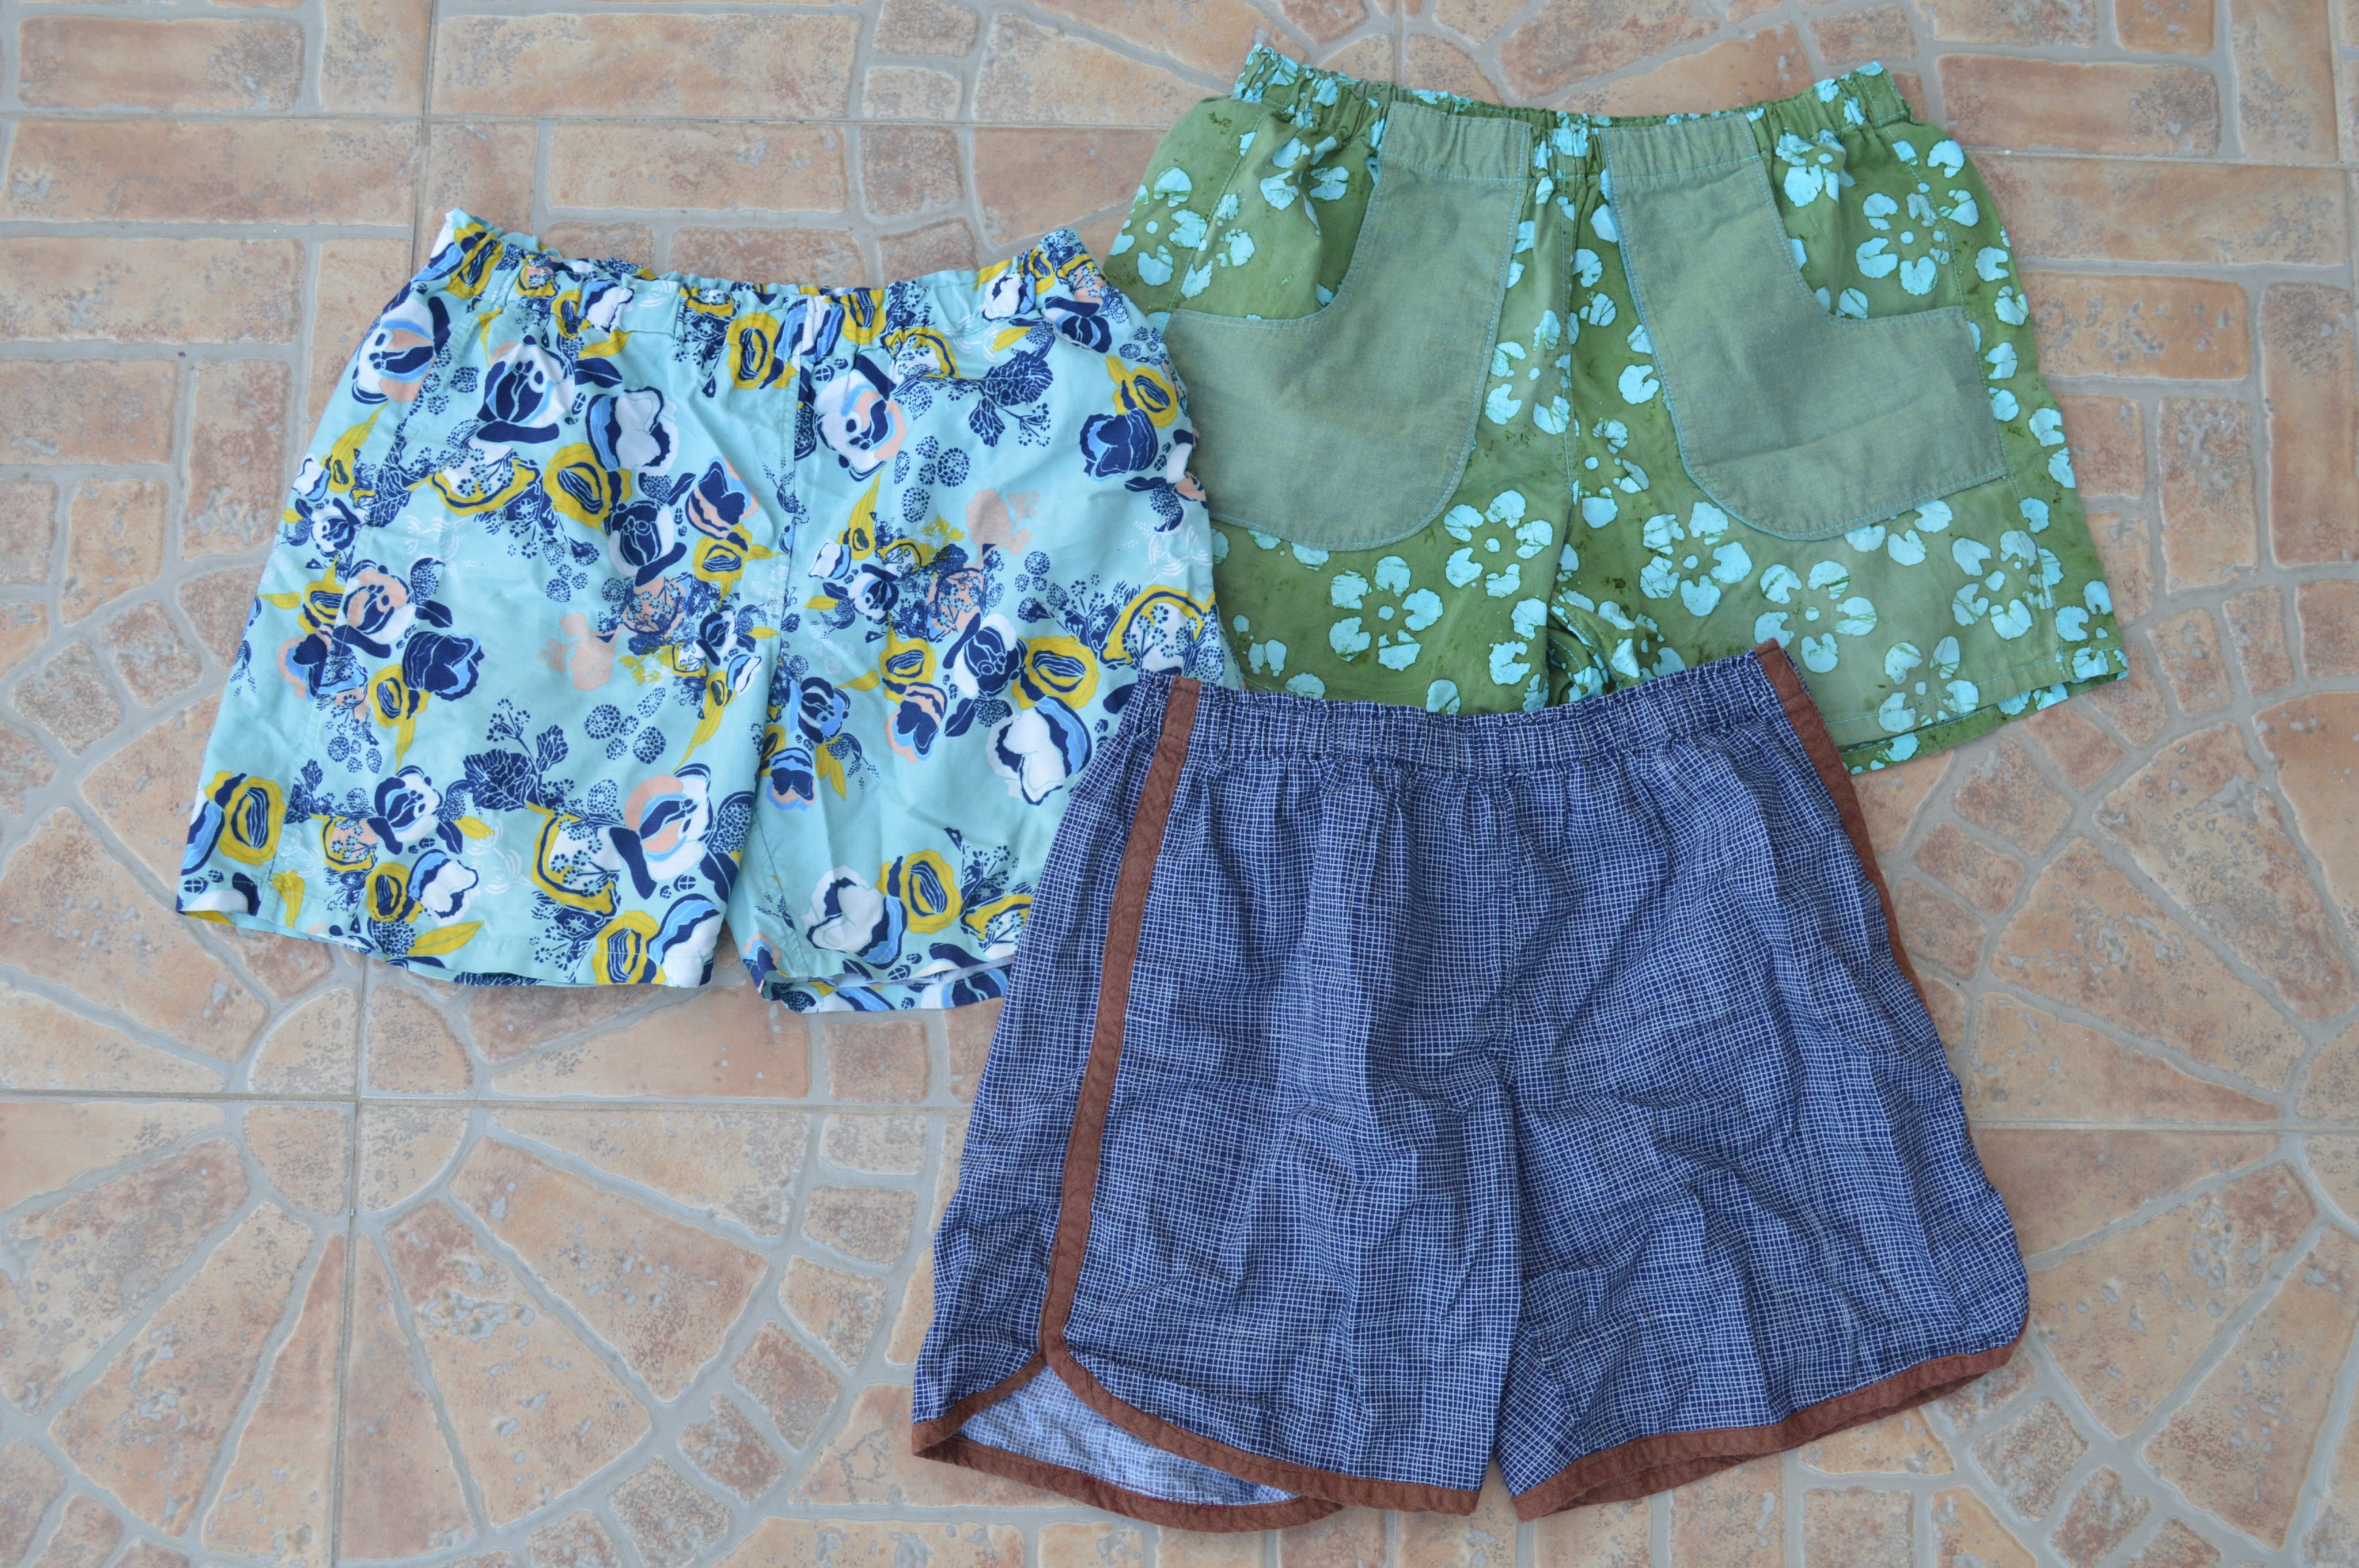
One of my favorite sewing projects is making a pair of shorts. They come together fairly quickly, use a relatively small amount of fabric, are super comfortable, and fit my summer uniform, which is typically shorts and a tank.
I use the free pattern from Melly Sews, which fits S-M. (You can purchase her pattern for the full range of sizes, or use her slash and spread tutorial to increase the size of the free pattern.) I find the shorts fit well, but are too short for my taste, with just a couple of inches to the inseam.
To add some length, when I’m tracing the pattern, I stop after tracing the sides and top, and slide the pattern down two inches, trace the bottom of the pattern, then connect the other lines to my new length. For the back piece, that means extrapolating part of the curve of the inseam.
Whenever you change the length of shorts, measure the inseam edge from the front and back pieces of the shorts and make sure they are equal after the change. Because the inseams are curved differently, adding equal length to both pieces can have a slightly different effect on each, and it can be hard to tell by eyeballing (my preferred method) whether they are the same length.
With that added length, I like to finish by turning the hem over a quarter inch, then a half inch, and using a longer stitch length to sew the hem. A little extra fabric at the hem makes the shorts feel nicer and helps the hem not to curl, and the longer stitch length looks better on visible seams that won’t be stressed.
I also tend to bring the front of the waistband down about an inch at the center and slope it up to meet the original height at the side, since I prefer a lower waist, and use 3/4 in. elastic for the waistband rather than the recommended 1 inch.
In order to keep the elastic from rolling, I sew a seam around the top of the elastic casing before threading the elastic through, about 1/8 inch below the fold. It gives the shorts a more finished look.
For me, adding bias tape and making racer style shorts, or wishbone pockets, are the final details that keep these shorts from looking like pajamas.
 I use this tutorial for the pockets, and this one for the bias tape racer shorts.
Adding a contrasting fabric on the inside of the pockets is a fun way to be a little adventurous without a huge commitment.
For racer style shorts, I use store bought bias tape if I want a basic color, but even better is homemade shot cotton bias tape. Shot cotton has the look of a solid color with a little something extra. It isn’t busy like a print, but has a depth and beauty regular solids lack. 
There are countless methods for making the 1/2 inch double fold bias tape you need. I learned to make bias tape this way, using 2” wide strips instead of the 1.25” strips in the tutorial.
Bias tape can be a little tricky to sew with. I use this method with good results.
I’ve tried almost every method of finishing seams. These days, I usually just fold over twice and tack down the fabric with a 3.5 or 4.0 stitch length instead of the regular 2.5. Like I mentioned above, with that seam visible in the outside, a longer stitch length looks nicer and not so constipated.
When there isn’t enough fabric to fold over, 1/4 in. store bought double fold bias tape covers up the raw edges and adds a little fun only you know about. That’s what I did with the red you see below.

I was pregnant last summer and no longer fit in my regular shorts. I made several new pairs using the same pattern, but dropped the front waist like I mentioned above, and made the elastic for the waist a little looser (I measured my bigger self for comfort). Lastly, I added an extra half inch in width to the edges of each pattern piece (for a total of 2 additional inches of ease in the finished shorts.) It gave me just the extra space I needed at the end of the pregnancy and postpartum until my regular shorts fit again.
As you make your own shorts, don’t be afraid to make notes right on your pattern pieces so that you won’t forget what works for you. Start with an inexpensive fabric so you can make your mistakes on the crappy stuff. I have been known to practice on bedsheets from Goodwill.
If you live in the cold Northeast like I do, making shorts now means they will be ready for summer and can be a physical way to be hopeful that winter will indeed end.
I like your final comment! We need to believe that winter will end because most of us are freezing! It was six degrees when we were driving to church this morning! Brrr…
That is far too cold for my taste! It has been a breath of fresh air to experience summer for a couple of weeks. An invitation for you to come down has been re-extended, so please consider it!

2 Comments